
Step 1: Create the GPO for the printer
First, open Group Policy Management on the Domain Controller.
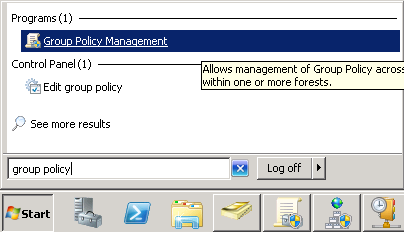
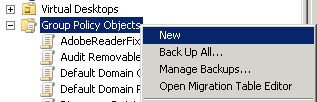
Then, create the GPO that will be used to deploy the printer.
Right-click on Group Policy Objects >New
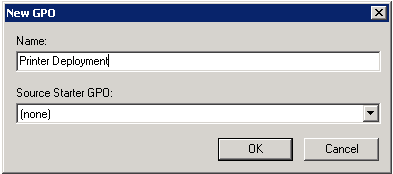
Click OK
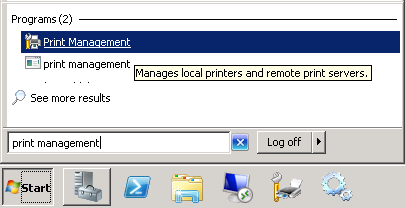
Step 2: Add the Printer to Print Management
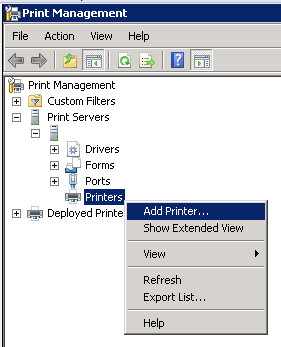
Go to Start > Print Management
Right-click on Printers > Add Printer…
Go through the wizard to add the printer.
Step 3: Link Printer to GPO for Deployment
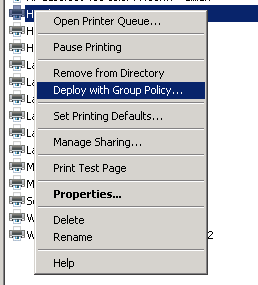
Right-click on the printer and select Deploy with Group Policy…
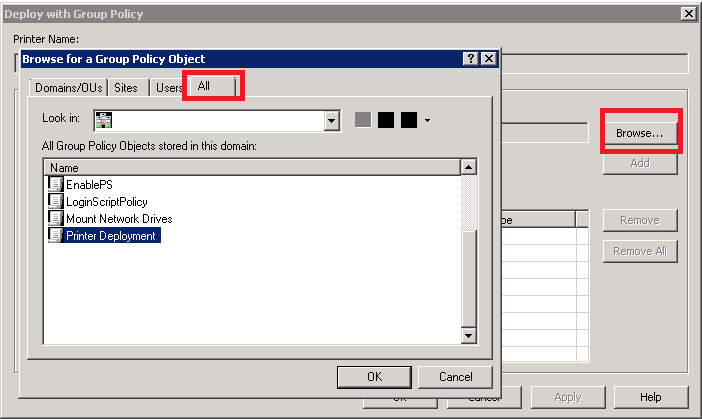
Click Browse…
Click the All tab
Select the GPO created for the printer
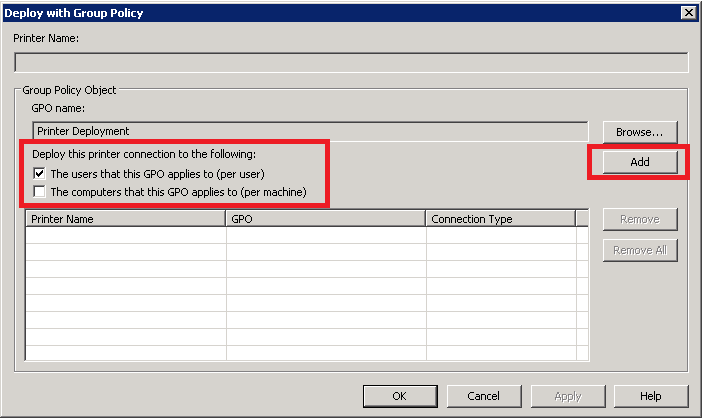
Select either to deploy to the user or to the computer
Click Add
Click OK
Step 4: Link GPO to OU
Drag to link the GPO to the desired OU in Group Policy Management.
If deploying per computer, reboot the target computer.
If deploying per user, logout/login on the target computer.
If you need any assistance, give Atom Creek a call!
References
Microsoft Technet – Deploy Printer Connections
https://technet.microsoft.com/en-us/library/cc731292.aspx/
