Written by Jacob Lavigne
Systems Engineer at Atom Creek, LLC
Step by step instructions to install vCenter Operations Manager, or vCOPS for short. vCenter Operations Manager provides comprehensive visibility and insights into the performance, capacity and health of your infrastructure
1) Download vCenter Operations Manager 5.8.1 from vmware.com
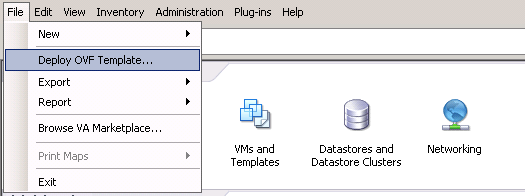
2) Open vSphere Client and Deploy an OVF Template
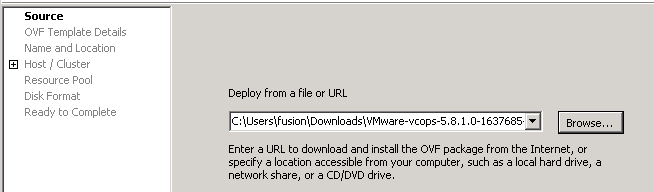
3) Browse to the location of where you downloaded 5.8.1 and click Next.
4) Accept the EULA
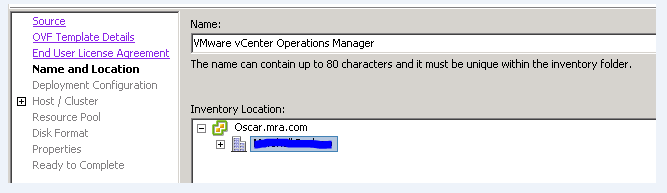
5) Give the vApp a name and choose its Inventory Location. I kept the default name.
6) When choosing Deployment Configuration, you are given three choices. Small, Medium or Large. Select each one at the drop down menu to see which configuration fits best for your environment.
7) Select the Cluster that you want vCOPS to run in.
8) Next, you select where the vApp will keep its data. vCOPS requires 344 GB for Thick Provisioning, so make sure to choose a LUN with at least 344 GB of free space.

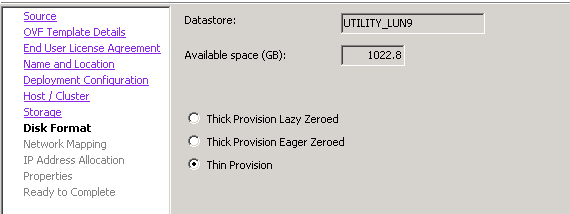
9) On the next screen, you choose how you want your disk to be formatted. I keep with Thin Provisioning.
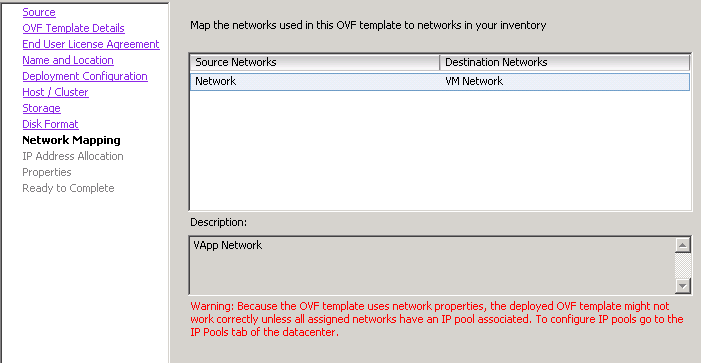
10) I only have one VM Network in this environment, so the selection is easy. The message in red below, we will set up after we deploy this OVF template.
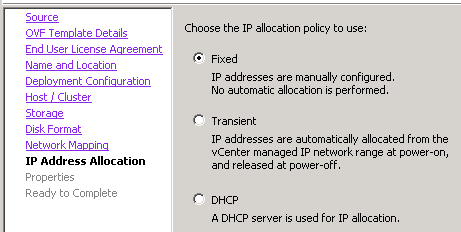
11) On the next screen you choose how you want vCOPS to get an IP Address, I always choose Fixed and document what IP’s I am using.
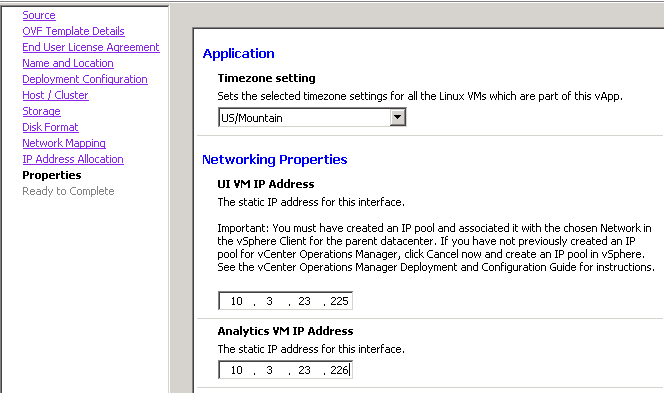
12) You will need two available IP Addresses. One for the Analytics VM and the other for the UI VM.
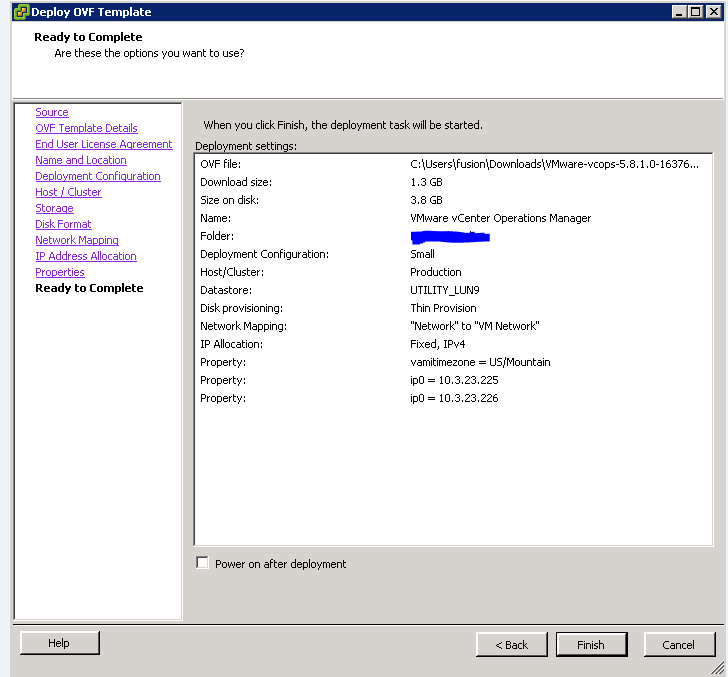
13) Don’t check the box to Power on after Deployment. We need to set up the IP Pools for the Cluster first! Click Finish and we will set up the IP Pools next.
14) Once vCOPS is successfully deployed, Select your Datacenter and click on the IP Pools tab. Click Add to enter network information.
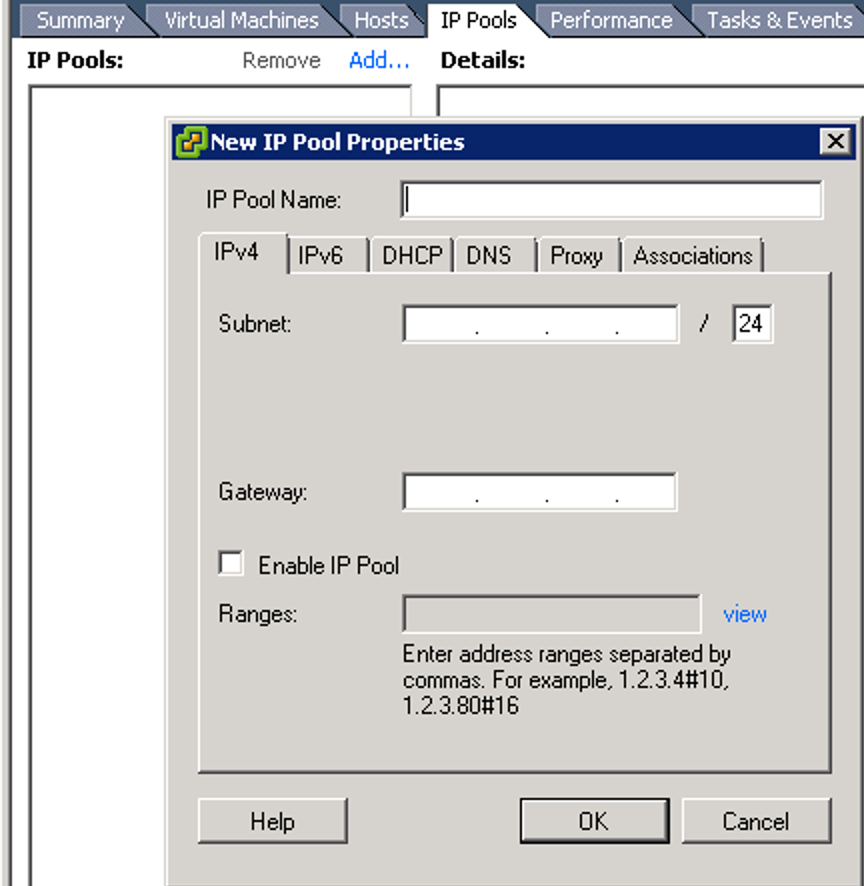
15) Enter your network information in as shown below. This tells vCOPS which network to be monitoring. Should look something like this:
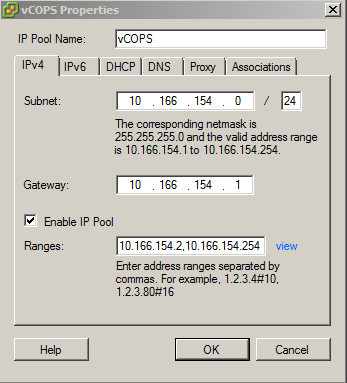
16) Make sure to check the box for IPv4 DHCP Present if appropriate DHCP Servers are available on the network. Add in your DNS Domain and IPv4 DNS Servers under the DNS Tab. Separate the two DNS Server addresses by a comma. Lastly, under the Associations Tab select the network that should use this IP Pool, for me it was VM Network. Click OK once those steps are complete.
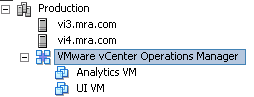
17) You will now see a new vApp in your Cluster. Select the vApp and Power On.
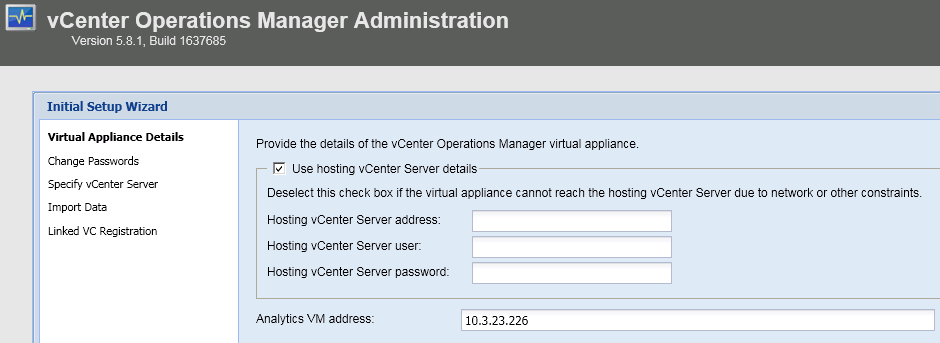
18) Now we need to change default credentials. Open a Web Browser to the IP Address you set for the UI VM. The default credentials for vCOPS is admin / admin and root / vmware. Log in using admin /admin first.
19) Once you are logged in, enter in your vCenter information. I create a dedicated user for vCOPS to access vCenter.
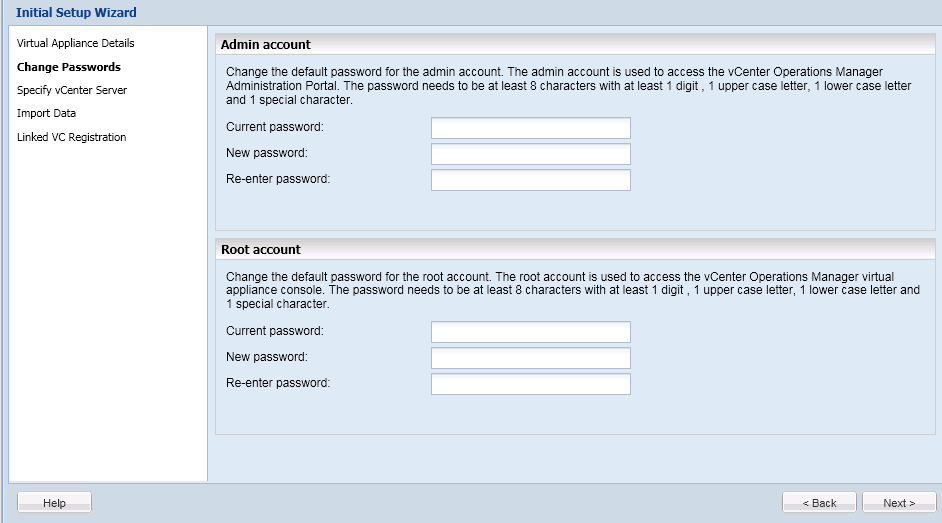
20) On the next screen we will change the default passwords for the admin and root account. Make sure to document the new passwords!
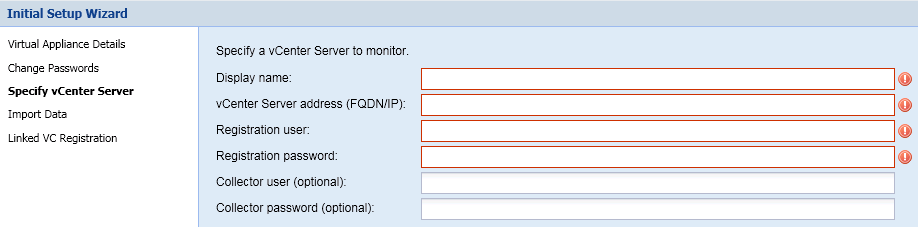
21) We need to provide more information about our vCenter Server on the next screen. For the Registered User make sure to use an account with admin privileges in vCenter, I use the vCOPS account I briefly talked about a couple steps ago.
22) The next screen will detect any plug-ins you have in vCenter and the last screen will check to see if you have vCenter in Linked Mode. Click Finish to finalize the install.
23) Now you can browse to the IP of the UI VM and login with the Admin credentials you just set a password for.

24) Let data collect for at least 24 hours and then log back in to see an overview of health of your Virtual Environment.

